Getting the most from that bunch of tulips
- Kat
- Mar 22, 2022
- 3 min read
Well hello! It's been a minute.
I took a break from this blog last year as I didn't do any gardening. Instead I spent most of the year pregnant with our first child and it got gradually harder and harder to do much physical activity as my pregnancy progressed. Our beautiful baby boy joined us in the autumn.
So Sam and I prioritised getting the house finished! We agreed to save the garden until last, and now big developments are underway. It's very exciting!
After a year and a half not doing much gardening at all, it will be pure bliss to start getting my hands dirty and begin turning our London terrace garden into a green oasis! I will share more as soon as I can.
In the mean time, I wanted to dip a toe back into this blog. Now that Charlie is a no longer a new born, I would like to write a bit more, and record more of the garden development process - well as much as my son allows me to anyway! Expect shorter, snappier posts for the foreseeable future, as I write while he naps!
But back to the topic for today which is cut tulips. I felt it an appropriate subject given the change in seasons. Cheerful, fresh and unpretentious; in truth, they are one of my favourite spring flowers. They will become ever more present in supermarkets and florists in the run up to Easter (yay) and make a fantastic present for someone (yourself included). I can't pick up a bunch of fresh tulips without feeling a fizzle of joy inside.
Granted, they are not always the most long lasting of cut flowers, and often they are sold in a bit of a mess. So I thought I would share a few tips on how to get the most out of this popular flower, despite its shorter vase life.
Buy them super fresh!
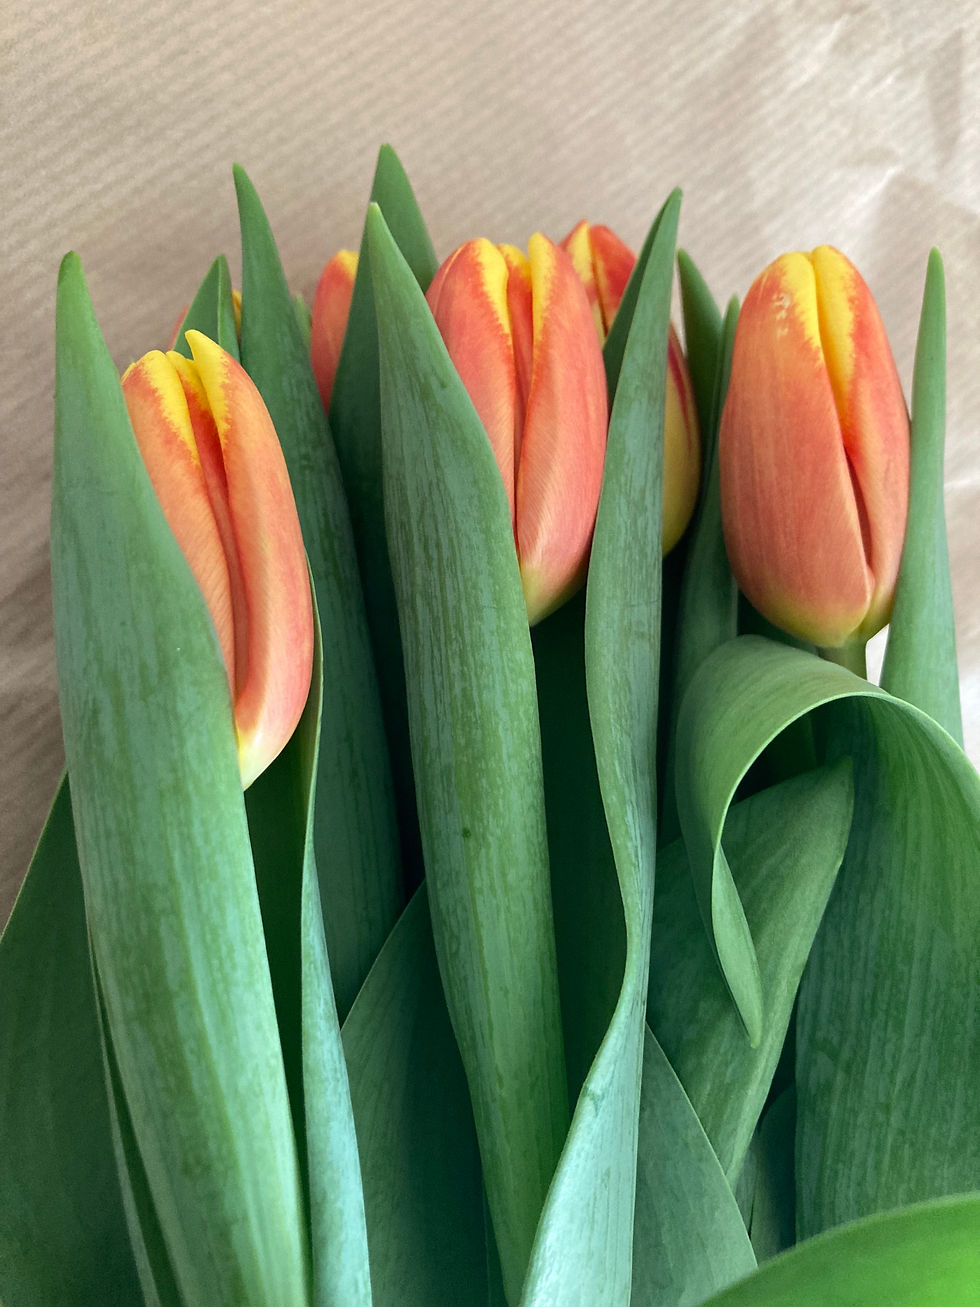
You should be able to get the best part of a week out of a bunch of tulips in the spring if you buy them fresh. Often in supermarkets I notice open tulips still on display for full price.
Look for tight buds, straight stems and firm, bright green, leaves.
I also suggest you keep an eye out for snug packaging that doesn't allow the bunch to move around - tulips like to stick together!
2. Remove lower leaves (but not all leaves)
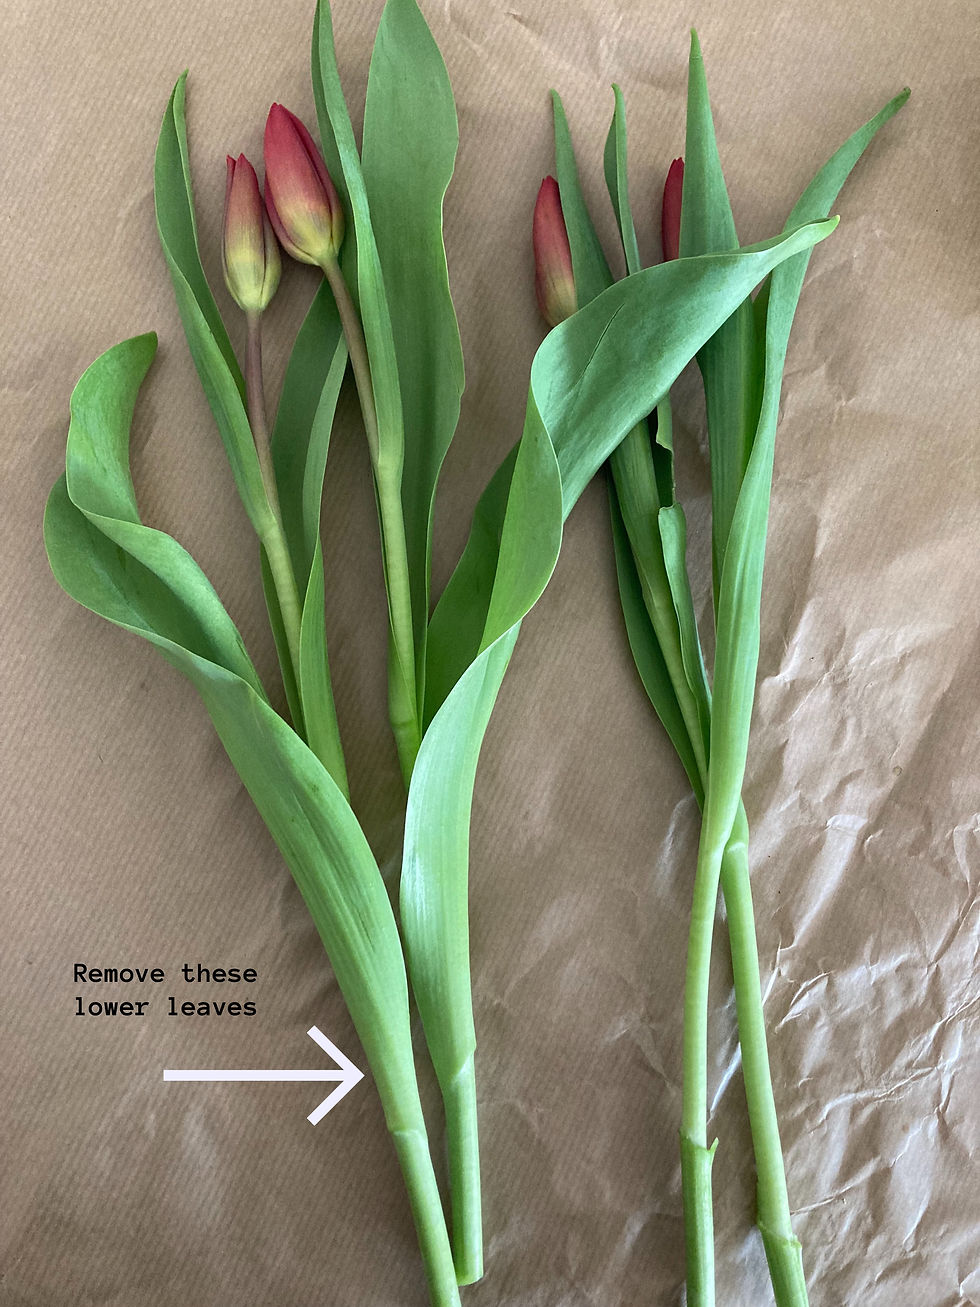
When you display cut flowers, always avoid having foliage below the waterline as this can spoil the water and lead to rot, shortening the life of the flowers.
Cut tulips often come with their lower leaves still attached to the stems, so gently remove them before adding to the vase. I like to leave the upper leaves on though. I find they add gentle support to the flowers, but I also like the aesthetics of the vibrant, green points interspersed with the colourful petals.
Don't forget to trim an inch or so off the bottom of the stems before you pop them into fresh water so that they can take a drink!
3. Keep 'em snug
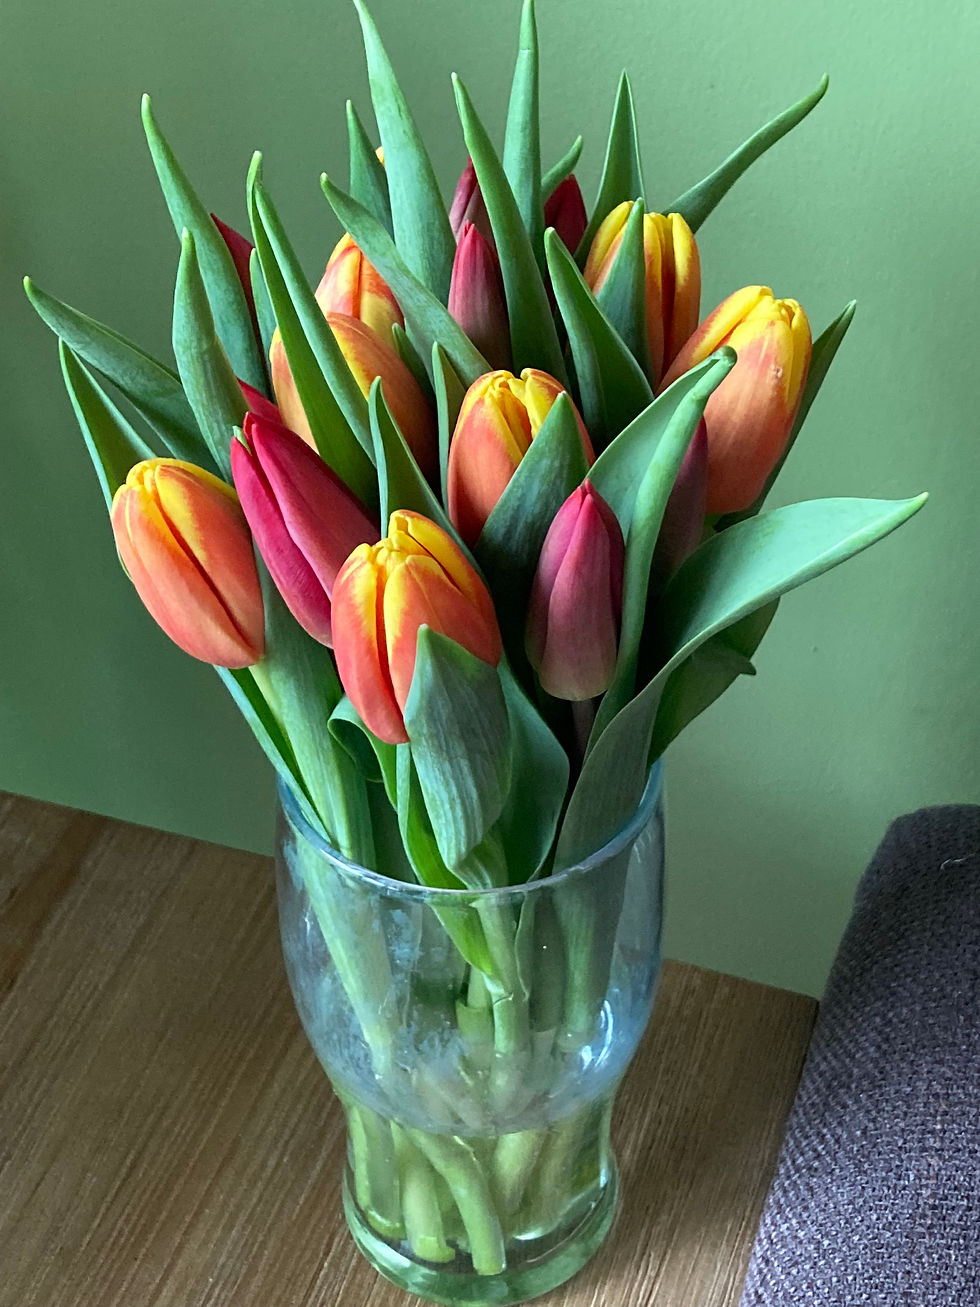
Tulips do best in tight bunches where they have little space to move around. They sort of support each other this way, and it helps to keep their stems straight. Display in a narrow vase for a snug fit. And remember anything can be a vase. The picture to the left shows tulips displayed in a pint glass.
4. Keep the water topped up a little at a time
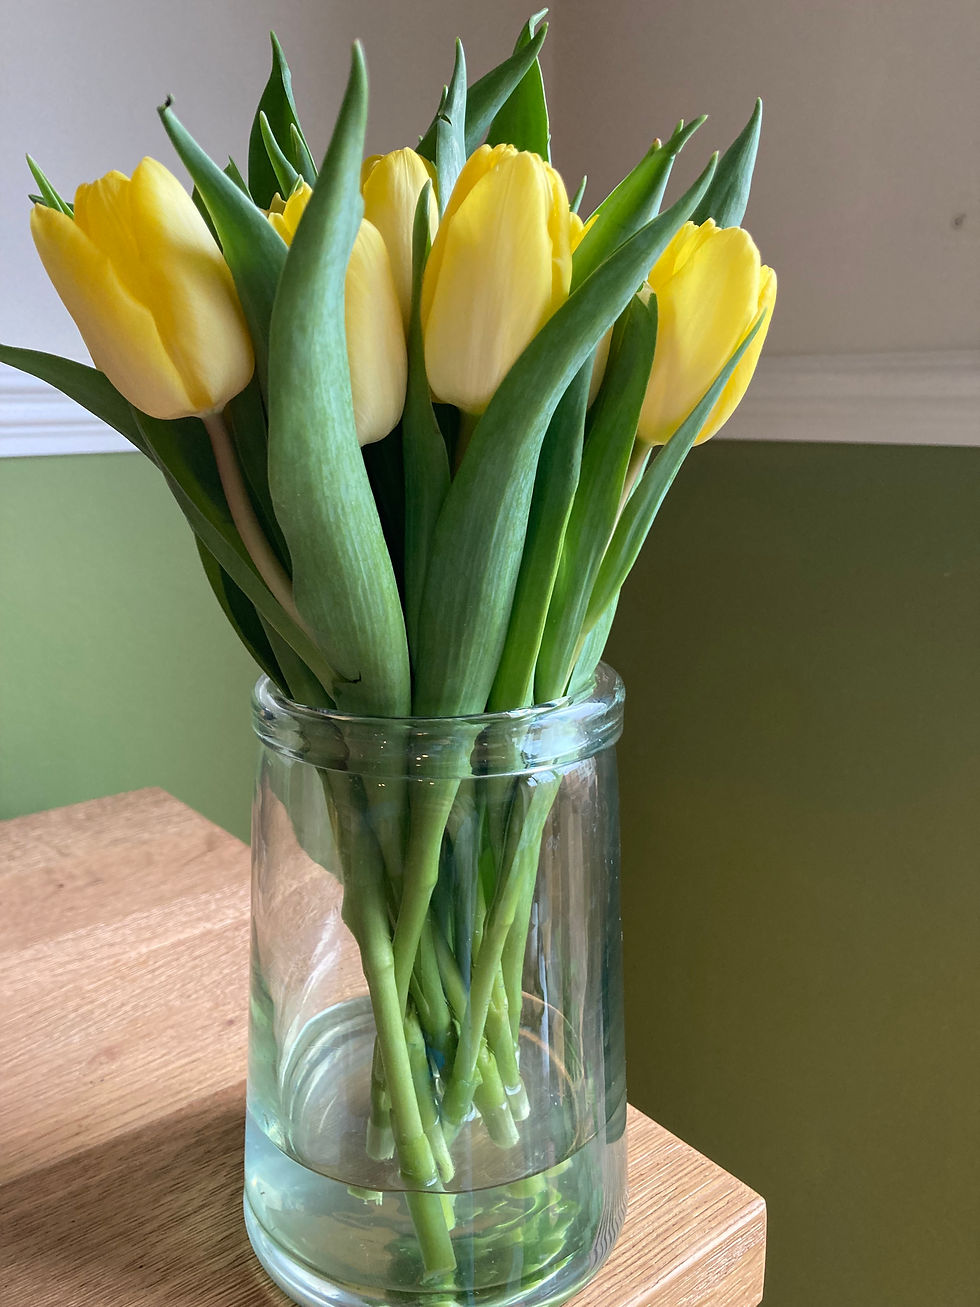
I once heard a florist say that you should use a minimal amount of water in a vase if you want to keep cut tulips upright. Apparently they take up a lot of water and this can lead to bending.
I do make sure there is always water available however, and I change it often to make sure it is clean.
5. A little maintenance is required
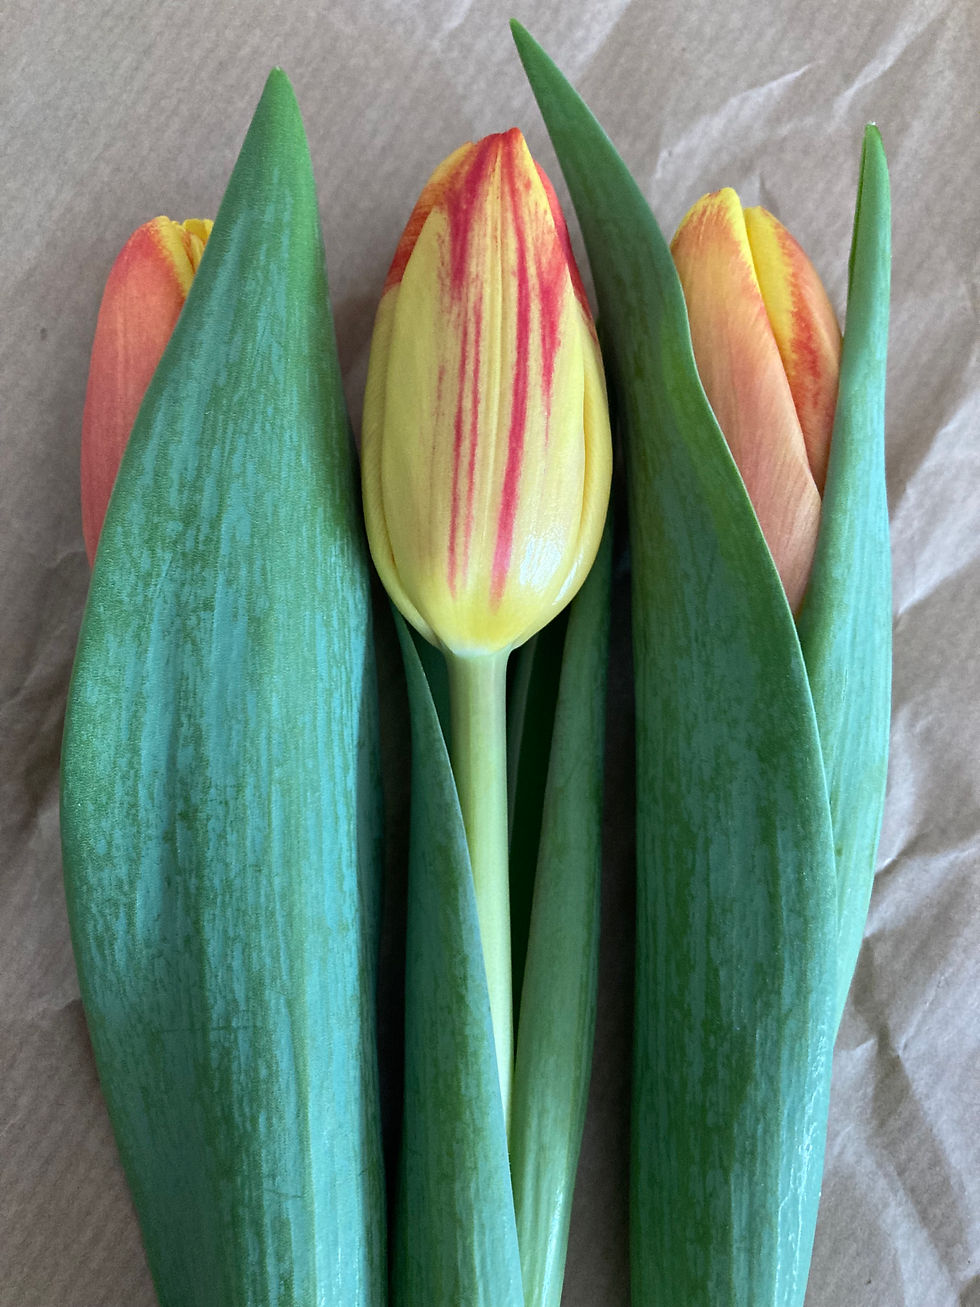
You might notice that tulips keep growing in water. For this reason, you may have to trim for a second or even third time if you feel the stems are getting too long for the vase.
Like many cut flowers, tulips dislike being too near heating and direct sunlight, so keep them somewhere cool and shady.
With Mother's Day fast approaching, you may find yourself buying or receiving some tulips sometime soon. I hope my tips are helpful if you have trouble keeping tulips looking fresh.
In the mean time, enjoy the sunshine!
Thank you for reading.
Have a great week.
Comments